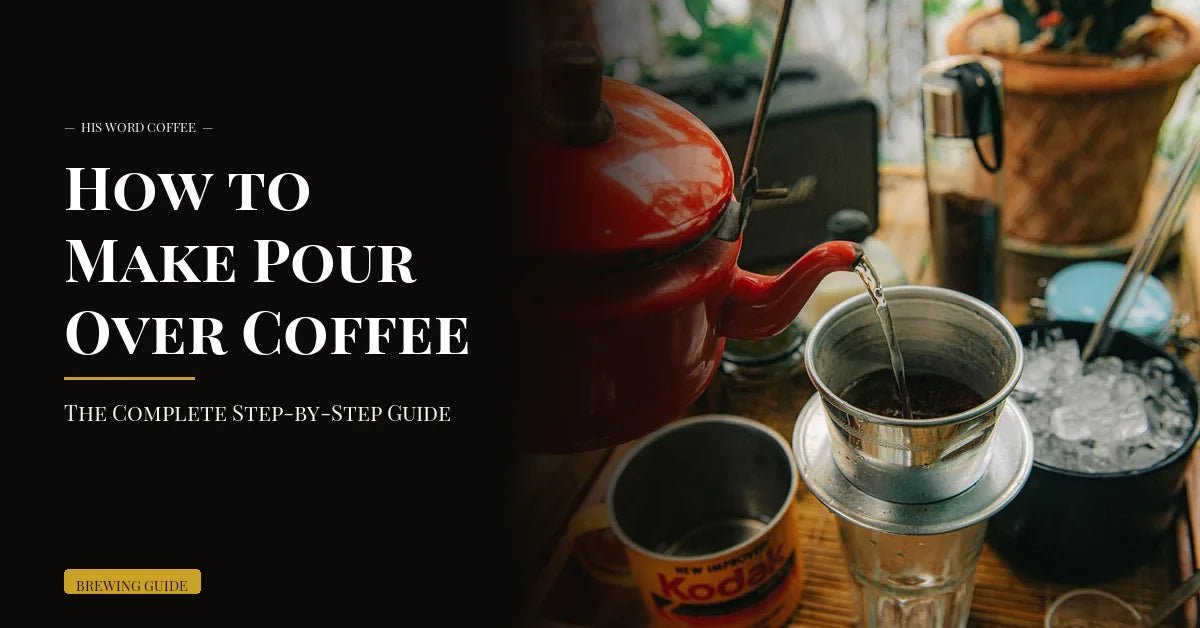
Pour over coffee is one of the most rewarding brew methods you can learn. With a few simple tools and about five minutes, you can brew a cup that is cleaner, more nuanced, and more flavorful than anything a standard drip machine produces. This guide walks you through everything: the equipment, the technique, the recipe, and how to fix it when something goes wrong.
Key Takeaways
- Use a gooseneck kettle and a scale. Both are essential, not optional.
- Grind fresh, medium coarse, right before brewing.
- Water temperature: 93-95 degrees C (200-203 degrees F).
- Standard ratio: 20g coffee to 300ml water (1:15).
- Total brew time should be 3-4 minutes. Use that as your calibration target.
- Bloom first. Always. It makes a measurable difference in flavor.
1. What Makes Pour Over Different
With a drip machine, water falls on the grounds at a fixed rate controlled by the machine. You have no input once the brew starts. Pour over puts that control entirely in your hands.
You decide how fast the water moves, where it lands, when you pause between pours, and how evenly the grounds are saturated. That control directly shapes extraction, which is how much of each compound you pull from the coffee. Oils, acids, sugars, and bitter compounds all extract at different rates. A well-executed pour over draws out the flavors you want and minimizes the ones you do not.
The result is a cup that is brighter, cleaner, and more complex than most automatic methods produce. Pour over does not hide off-notes the way heavy paper filtration in some drip machines can. It also does not amplify them the way a poorly dialed espresso does. It is honest. What you put in is what you get out, which is why starting with quality, freshly roasted beans matters more here than with almost any other method.
Three things define good pour over execution: a controlled pour rate, a proper bloom, and hitting your target brew time window. This guide covers each one.
2. Equipment You Need
You do not need the most expensive gear to brew excellent pour over. But certain tools are non-negotiable. Here is what you need and why each item earns its place on the counter.
3. Why a Gooseneck Kettle Matters
New brewers often underestimate how much the kettle matters. It is not aesthetic. It is functional.
The gooseneck spout does three things a standard kettle cannot:
- Controls flow rate. You can pour a thin, slow stream or a faster one simply by tilting the kettle. A standard kettle either trickles awkwardly or dumps water. Neither gives you the control pour over requires.
- Directs water precisely. Pour over works best when water hits the grounds evenly. The narrow spout lets you pour in tight spirals, starting at the center and moving outward, saturating all the grounds without blasting any one spot.
- Prevents channeling. Channeling happens when water cuts a path of least resistance through the grounds rather than saturating them evenly. The result is uneven extraction: some grounds are over-extracted, others under-extracted, and the cup tastes muddy or sour and bitter at the same time. A gooseneck kettle, used with controlled spiraling pours, keeps the bed even and minimizes channeling.
If you are brewing pour over regularly and using a standard kettle, upgrading to a gooseneck will make a more noticeable difference than upgrading your brewer.
4. Why a Scale Matters
Coffee is not uniform. A light roast bean is denser than a dark roast bean. A coarse grind occupies more volume than a fine grind. Volume measurements, scoops, tablespoons, or "fill to the line" markings, all vary based on roast level, grind size, and how packed the grounds are.
Weight is consistent. 20g of coffee is 20g of coffee regardless of roast level or how the grounds settle in the scoop. The same goes for water: 300ml by volume equals 300g by weight at the temperatures used for brewing.
Using a scale does two things: it makes your brews repeatable (when you nail a cup, you can recreate it exactly), and it makes troubleshooting easier (you know what you changed because you measured it). Most pour over recipes are written in grams for this reason.
You do not need a precision lab scale. Any kitchen scale accurate to 1g works. Place the scale on the counter, set your brewer and mug on top, and tare before adding coffee and again before each pour.
5. Grind Size for Pour Over
For pour over, you want a medium grind, roughly the texture of coarse sea salt. Not espresso-fine, not French press-coarse. Medium.
Grind size controls how fast water moves through the coffee bed. Finer grounds have more surface area and create more resistance, which slows the flow and extends extraction. Coarser grounds have less surface area and resistance, which speeds flow and shortens extraction.
- Too fine: water drains too slowly (under 3 minutes or stalling before 300ml), grounds over-extract, resulting in bitterness and a harsh finish.
- Too coarse: water blows through too fast (under 2 minutes), grounds under-extract, resulting in sourness, flatness, and thin body.
- Just right: 3-4 minutes total brew time, balanced flavor, clear finish.
Grind fresh, immediately before brewing. Pre-ground coffee starts losing volatile aromatics within minutes of grinding. The difference between fresh-ground and sitting-for-two-days-ground is not subtle.
For a deeper look at grind settings, see our pour over grind size guide and the coffee grind size chart.
6. Water Temperature
Target: 93-95 degrees C (200-203 degrees F). This is the sweet spot for most medium and light roasted pour over coffees.
Water that is too hot accelerates extraction and over-pulls bitter compounds. Water that is too cool under-extracts, leaving the cup sour, weak, and thin.
The simplest approach: bring water to a full boil, then let the kettle sit off the heat for 30-45 seconds. That drops the temperature from 100 degrees C to approximately 93-95 degrees C. You do not need to wait 10 minutes. Just a brief pause off the heat is enough.
If you have a temperature-controlled kettle, set it to 93 or 94 degrees C and let it do the work.
Note: for darker roasts, some brewers prefer slightly lower temperatures (around 90-91 degrees C) to reduce bitterness. Light and medium roasts generally benefit from the higher end of the range to fully develop their complexity.
7. The Recipe and Brew Steps
Quick Reference: Standard Pour Over
| Coffee dose | 20-22g |
| Water volume | 300ml (300g) |
| Ratio | 1:15 (coffee:water by weight) |
| Water temperature | 93-95 degrees C (200-203 degrees F) |
| Grind size | Medium (coarse sea salt) |
| Bloom amount | 40-50ml (2x coffee weight) |
| Bloom time | 30-45 seconds |
| Total brew time | 3:00 to 4:00 minutes |
Step-by-Step Brew Process
-
Boil water and set up your brewer. Bring your kettle to a boil, then let it rest off heat for 30-45 seconds. Place your pour over brewer on top of your mug or carafe. Set everything on the scale.
-
Insert the filter and rinse it. Fold the paper filter along the seam and seat it in the brewer. Pour hot water through the filter to rinse it, wetting all the paper. This removes the paper flavor that can carry into your cup and preheats the brewer and mug. Discard the rinse water. Tare the scale to zero.
-
Add ground coffee. Grind 20-22g of coffee at a medium setting. Add it to the filter. Give the brewer a gentle shake to level the bed. A flat, even coffee bed is important for even extraction. Tare the scale to zero again.
-
Bloom (0:00 to 0:45). Start your timer. Pour 40-50ml of water (roughly double the weight of your coffee dose) starting at the center of the grounds and moving in slow outward spirals until all the grounds are saturated. Do not rush this. Stop at 40-50ml and wait 30-45 seconds. You will see the grounds bubble and rise. That is CO2 releasing from freshly roasted coffee. The bloom allows this gas to escape before the main brew, which improves even extraction.
-
First pour (0:45 to 1:15). Begin pouring again slowly, starting at the center and moving outward in tight spirals. Bring the total water weight to approximately 150ml. Pour steadily and evenly. The goal is to keep the water level consistent without letting the bed drain completely or flooding over the top of the filter.
-
Second pour (1:30 to 2:00). Once the water level drops slightly, begin pouring again in the same circular pattern. Bring the total to approximately 225ml. Continue the same slow, even spirals. Keep the pour rate consistent with the drain rate so the water level stays relatively stable.
-
Final pour (2:00 to 2:30). Complete the brew by bringing the total water weight to 300ml. Continue the same technique. Pour to the center first, then spiral outward, avoiding the filter walls (pouring directly on the paper can bypass the coffee bed entirely and cause channeling).
-
Wait for the drawdown (2:30 to 3:30-4:00). Once all the water is in, let the brewer drain completely. Total brew time from the first pour to the last drop should be 3 to 4 minutes. When the bed drains flat and evenly, with no deep channeled furrows in the grounds, your technique is working. Remove the brewer, discard the filter and grounds, and pour your coffee.
Taste immediately and note what you observe. That observation is your calibration data for the next brew.
Get brew guides, roast updates, and first access to new single-origins
8. How Fresh Beans Affect Pour Over
Fresh-roasted coffee contains dissolved CO2 that was absorbed during the roasting process. This gas continues to release in the days and weeks after roasting, a process called degassing.
In pour over, fresh beans produce a dramatic bloom. The grounds swell and bubble visibly during that first 30-45 second rest. This is a sign of freshness and it is not just visual. The bloom allows excess CO2 to escape before the main extraction begins. CO2 creates a barrier between water and the coffee grounds that interferes with even extraction. By blooming, you allow the gas to exit so water can access the grounds more uniformly during the main pours.
Stale coffee produces little to no bloom. The CO2 has already escaped on the shelf or in the bag. The cup is often flat, lacking the brightness and complexity that fresh beans produce. You can still brew it, but the results will not reach what the same beans would have produced at peak freshness.

Pour over is one of the most transparent brew methods. It does not mask staleness the way a heavily extracted espresso or a milk-heavy drink can. This is why fresh beans matter more in pour over than in almost any other method.
According to the Specialty Coffee Association, roasted coffee is best consumed within 2-4 weeks of the roast date for filter brewing methods. Store beans in an airtight container away from light and heat, not in the freezer or refrigerator for everyday use.
Pour over highlights what makes each coffee distinct. Our air-roasted single-origin coffees are designed to deliver the clarity and complexity that this method reveals. Explore our single-origin collection to find a coffee that will show you what your pour over technique can do.
9. Troubleshooting Pour Over
| Problem | Likely Cause | Fix |
|---|---|---|
| Tastes sour or weak | Under-extraction: water moved through too fast, temperature too low, or grind too coarse | Grind finer by one or two steps, check water temperature (aim for 93-95 degrees C), slow your pour rate |
| Tastes bitter or harsh | Over-extraction: water contact time too long, temperature too high, or grind too fine | Grind coarser, reduce water temperature slightly (try 91-92 degrees C), speed up pour rate |
| Both sour and bitter simultaneously | Channeling or uneven extraction | Bloom longer (45 seconds), pour more evenly in tighter spirals, ensure flat coffee bed before starting |
| Brew drains too quickly (under 2:30) | Grind too coarse | Grind finer until total brew time reaches 3-4 minutes |
| Brew stalls or takes too long (over 4:30) | Grind too fine or grounds compacted | Grind coarser, avoid stirring or swirling grounds during brew |
| Filter collapses against brewer wall | Filter not seated correctly or brewer lacks adequate ridges | Fold filter seam before inserting, ensure filter is fully open and not touching walls before adding coffee, rinse filter first to help it seat |
| Paper taste in cup | Filter not rinsed | Always rinse filter with hot water before adding coffee, discard rinse water |
| Inconsistent results brew to brew | Measuring by volume instead of weight | Use a scale. Measure both coffee and water in grams. |
10. How to Taste and Adjust
The most important brewing skill is systematic adjustment. Change one variable at a time, taste the result, and decide whether to continue in that direction or reverse course.
Here is a practical framework:
- Brew once with the standard recipe (20g, 300ml, medium grind, 93-95 degrees C, 3-4 minute target).
- Taste immediately before adding anything to the cup. Notice whether it tastes sour, bitter, or balanced. Note the brew time.
- If sour: the coffee is under-extracted. Grind slightly finer for the next brew. Everything else stays the same.
- If bitter: the coffee is over-extracted. Grind slightly coarser. Everything else stays the same.
- If balanced but weak: use slightly more coffee (22g instead of 20g) or reduce water slightly.
- If balanced but too strong: use slightly less coffee or add a splash of hot water to the brewed cup.
Grind size is almost always the first and most powerful variable to adjust. After that, temperature and pour rate. Ratio adjustments come last because they change strength, not flavor balance.
Most brewers find their ideal recipe within 3-5 brews with a new coffee. Write down what worked. The details of dialing in one coffee carry over to the next.
The Coffee Review brewing reference is a useful external resource for understanding extraction and flavor development across different brew methods.
Frequently Asked Questions
What is the best coffee-to-water ratio for pour over?
The standard starting point is 1:15, meaning 1 gram of coffee for every 15 grams of water. For a 300ml brew, use 20g of coffee. You can adjust to 1:14 for a stronger cup or 1:16 for a lighter one. Always measure by weight, not volume.
Do I really need a gooseneck kettle?
Yes, if you want consistent results. A standard kettle pours too fast and too unevenly, which causes channeling and uneven extraction. The gooseneck spout lets you control exactly where the water lands and how quickly it flows. It is the single most impactful equipment upgrade for pour over.
How long should pour over take?
Total brew time, from the first water contact to the last drip, should be 3 to 4 minutes. If it finishes in under 2:30, grind finer. If it takes longer than 4:30, grind coarser. Brew time is your most reliable feedback signal for grind adjustment.
Why does my pour over taste sour?
Sourness in coffee almost always means under-extraction, which means not enough flavor compounds were pulled from the grounds. The most common causes are grind too coarse, water too cool, or brew time too short. Start by grinding finer and see if that corrects it.
Can I skip the bloom?
You can, but you probably should not, especially with fresh-roasted coffee. The bloom lets CO2 escape so water can extract the grounds more evenly. Skipping it often results in a slightly less even extraction. It only takes 30-45 seconds and makes a consistent difference.
What is the difference between a V60 and a Chemex?
The V60 has a cone shape with spiral ribs and a large single hole, producing faster flow and a clean, bright cup. It requires precise technique. The Chemex uses a thicker paper filter and a folded collar design, producing an even cleaner, more delicate cup but in larger volumes. The Kalita Wave is a flat-bottom brewer with three small holes that produces more even extraction with less technique-sensitivity, making it a good beginner option.
What grind size should I use for pour over?
Medium, similar to the texture of coarse sea salt. Too fine slows the brew and leads to bitterness. Too coarse speeds it up and leads to sourness. Adjust by one step at a time and use total brew time as your guide. See our pour over grind size guide for specific burr grinder settings.
Does water quality affect pour over?
Yes. Mineral content in water affects extraction. Filtered water with moderate mineral content (not distilled, not heavily chlorinated tap water) produces the clearest results. If your tap water tastes off on its own, it will taste off in your coffee. Filtered or bottled water makes a noticeable improvement in those cases.
Ready to Brew Something Exceptional?
Pour over brings out everything that makes a great coffee distinct. Start with beans that are worth the technique. Our air-roasted single-origin coffees are roasted to highlight the clarity and complexity that pour over reveals.
Shop Single Origins See All CoffeesSources: Specialty Coffee Association, Brewing Best Practices.
Leave a comment
This site is protected by hCaptcha and the hCaptcha Privacy Policy and Terms of Service apply.